Using JupyterHub’s REST API#
This section will give you information on:
What you can do with the API
How to create an API token
Assigning permissions to a token
Updating to admin services
Making an API request programmatically using the requests library
Paginating API requests
Enabling users to spawn multiple named-servers via the API
Learn more about JupyterHub’s API
Before we discuss about JupyterHub’s REST API, you can learn about REST APIs here. A REST API provides a standard way for users to get and send information to the Hub.
What you can do with the API#
Using the JupyterHub REST API, you can perform actions on the Hub, such as:
Checking which users are active
Adding or removing users
Adding or removing services
Stopping or starting single user notebook servers
Authenticating services
Communicating with an individual Jupyter server’s REST API
Create an API token#
To send requests using the JupyterHub API, you must pass an API token with the request.
While JupyterHub is running, any JupyterHub user can request a token via the token page.
This is accessible via a token link in the top nav bar from the JupyterHub home page,
or at the URL /hub/token.
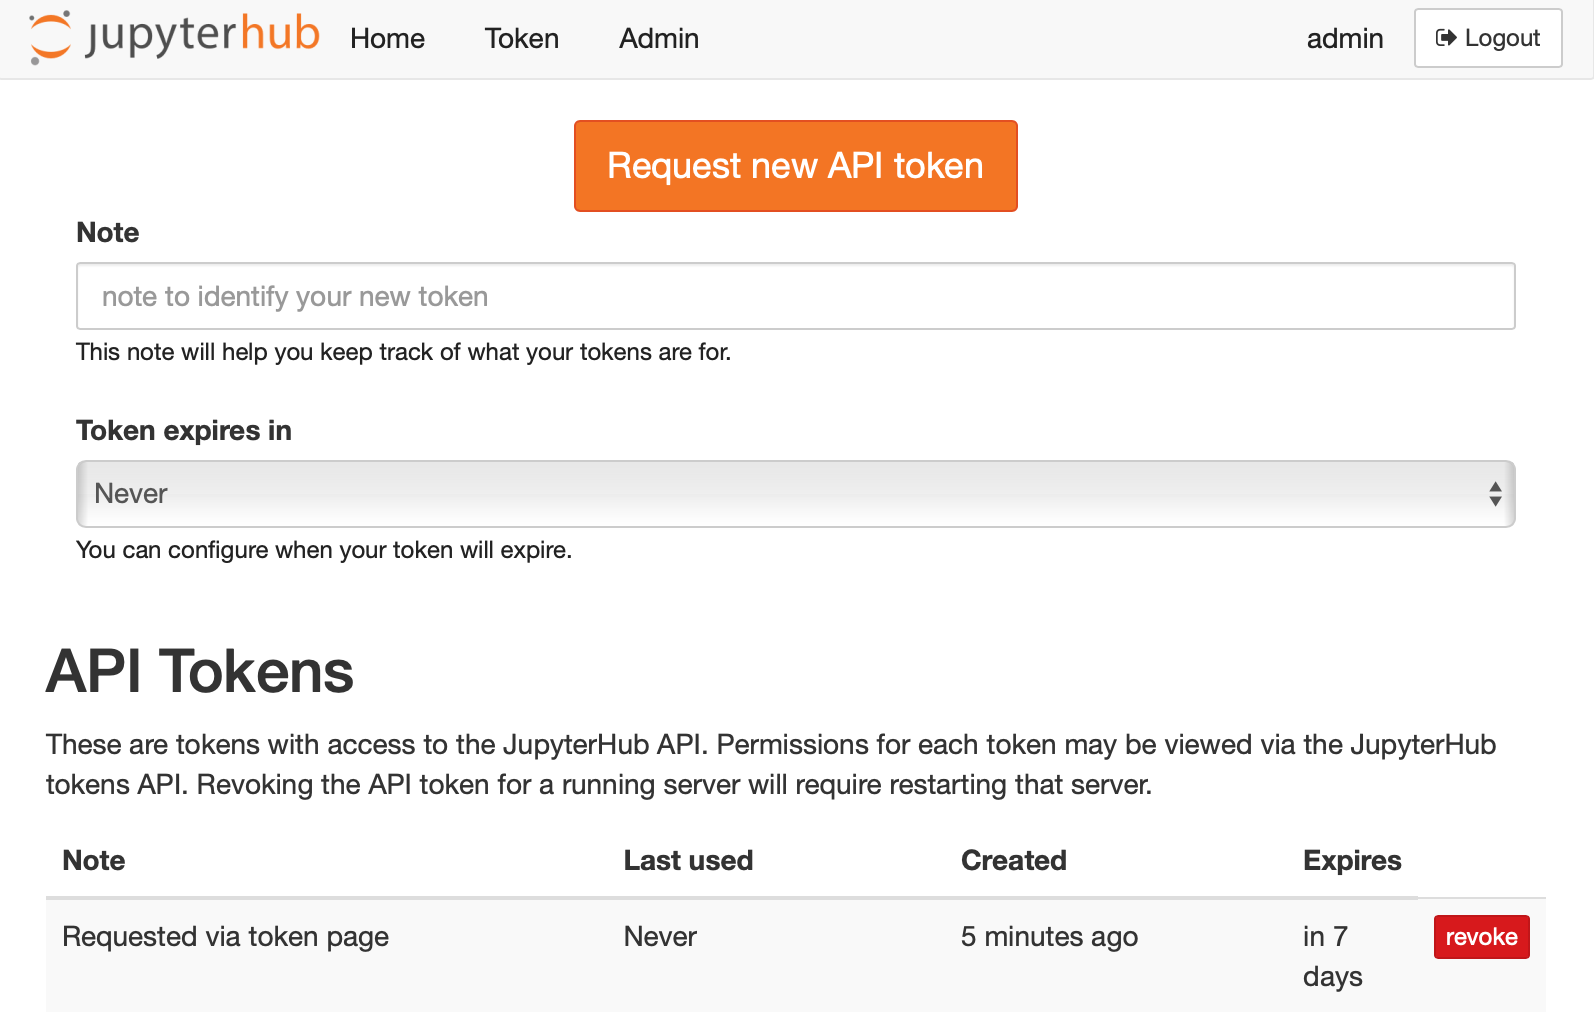
JupyterHub’s API token page#
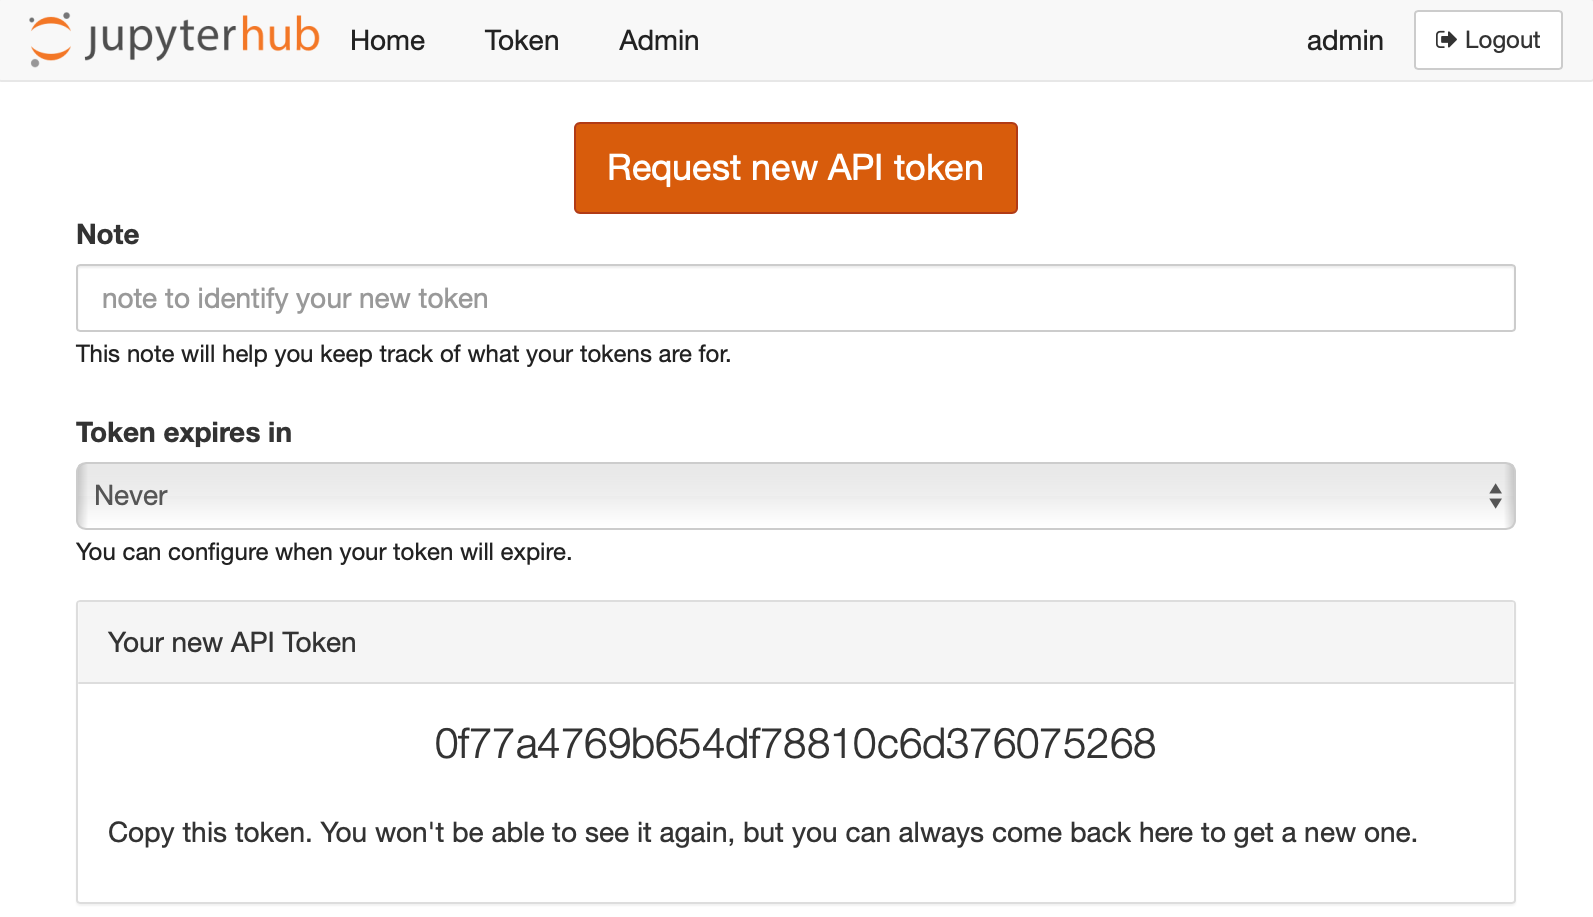
JupyterHub’s token page after successfully requesting a token.#
Register API tokens via configuration#
Sometimes, you’ll want to pre-generate a token for access to JupyterHub, typically for use by external services, so that both JupyterHub and the service have access to the same value.
First, you need to generate a good random secret. A good way of generating an API token is by running:
openssl rand -hex 32
This openssl command generates a random token that can be added to the JupyterHub configuration in jupyterhub_config.py.
For external services, this would be registered with JupyterHub via configuration:
c.JupyterHub.services = [
    {
        "name": "my-service",
        "api_token": the_secret_value,
    },
]
At this point, requests authenticated with the token will be associated with The service my-service.
Note
You can also load additional tokens for users via the JupyterHub.api_tokens configuration.
However, this option has been deprecated since the introduction of services.
Assigning permissions to a token#
Prior to JupyterHub 2.0, there were two levels of permissions:
user, and
admin
where a token would always have full permissions to do whatever its owner could do.
In JupyterHub 2.0,
specific permissions are now defined as ‘scopes’,
and can be assigned both at the user/service level,
and at the individual token level.
The previous behavior is represented by the scope inherit,
and is still the default behavior for requesting a token if limited permissions are not specified.
This allows e.g. a user with full admin permissions to request a token with limited permissions.
In JupyterHub 5.0, you can specify scopes for a token when requesting it via the /hub/tokens page as a space-separated list.
In JupyterHub 3.0 and later, you can also request tokens with limited scopes via the JupyterHub API (provided you already have a token!):
import json
from urllib.parse import quote

import requests

def request_token(
    username, *, api_token, scopes=None, expires_in=0, hub_url="http://127.0.0.1:8081"
):
    """Request a new token for a user"""
    request_body = {}
    if expires_in:
        request_body["expires_in"] = expires_in
    if scopes:
        request_body["scopes"] = scopes
    url = hub_url.rstrip("/") + f"/hub/api/users/{quote(username)}/tokens"
    r = requests.post(
        url,
        data=json.dumps(request_body),
        headers={"Authorization": f"token {api_token}"},
    )
    if r.status_code >= 400:
        # extract error message for nicer error messages
        r.reason = r.json().get("message", r.text)
    r.raise_for_status()
    # response is a dict and will include the token itself in the 'token' field,
    # as well as other fields about the token
    return r.json()

request_token("myusername", scopes=["list:users"], api_token="abc123")
Updating to admin services#
Note
The api_tokens configuration has been softly deprecated since the introduction of services.
We have no plans to remove it,
but deployments are encouraged to use service configuration instead.
If you have been using api_tokens to create an admin user
and the token for that user to perform some automations, then
the services’ mechanism may be a better fit if you have the following configuration:
c.JupyterHub.admin_users = {"service-admin"}
c.JupyterHub.api_tokens = {
    "secret-token": "service-admin",
}
This can be updated to create a service, with the following configuration:
c.JupyterHub.services = [
    {
        # give the token a name
        "name": "service-admin",
        "api_token": "secret-token",
        # "admin": True, # if using JupyterHub 1.x
    },
]

# roles were introduced in JupyterHub 2.0
# prior to 2.0, only "admin": True or False was available

c.JupyterHub.load_roles = [
    {
        "name": "service-role",
        "scopes": [
            # specify the permissions the token should have
            "admin:users",
        ],
        "services": [
            # assign the service the above permissions
            "service-admin",
        ],
    }
]
The token will have the permissions listed in the role (see scopes for a list of available permissions), but there will no longer be a user account created to house it. The main noticeable difference between a user and a service is that there will be no notebook server associated with the account and the service will not show up in the various user list pages and APIs.
Make an API request#
To authenticate your requests, pass the API token in the request’s Authorization header.
Use requests#
Using the popular Python requests library, an API GET request is made to /users, and the request sends an API token for authorization. The response contains information about the users, here’s example code to make an API request for the users of a JupyterHub deployment
import requests

api_url = 'http://127.0.0.1:8081/hub/api'

r = requests.get(api_url + '/users',
    headers={
        'Authorization': f'token {token}',
    }
)

r.raise_for_status()
users = r.json()
This example provides a slightly more complicated request (to /groups/formgrade-data301/users), yet the process is very similar:
import requests

api_url = 'http://127.0.0.1:8081/hub/api'

data = {'name': 'mygroup', 'users': ['user1', 'user2']}

r = requests.post(api_url + '/groups/formgrade-data301/users',
    headers={
        'Authorization': f'token {token}',
    },
    json=data,
)
r.raise_for_status()
r.json()
The same API token can also authorize access to the Jupyter Notebook REST API
provided by notebook servers managed by JupyterHub if it has the necessary access:servers scope.
Paginating API requests#
Added in version 2.0.
Pagination is available through the offset and limit query parameters on
list endpoints, which can be used to return ideally sized windows of results.
Here’s example code demonstrating pagination on the GET /users
endpoint to fetch the first 20 records.
import os
import requests

api_url = 'http://127.0.0.1:8081/hub/api'

r = requests.get(
    api_url + '/users?offset=0&limit=20',
    headers={
        "Accept": "application/jupyterhub-pagination+json",
        "Authorization": f"token {token}",
    },
)
r.raise_for_status()
r.json()
For backward-compatibility, the default structure of list responses is unchanged. However, this lacks pagination information (e.g. is there a next page), so if you have enough users that they won’t fit in the first response, it is a good idea to opt-in to the new paginated list format. There is a new schema for list responses which include pagination information. You can request this by including the header:
Accept: application/jupyterhub-pagination+json
with your request, in which case a response will look like:
{
  "items": [
    {
      "name": "username",
      "kind": "user",
      ...
    },
  ],
  "_pagination": {
    "offset": 0,
    "limit": 20,
    "total": 50,
    "next": {
      "offset": 20,
      "limit": 20,
      "url": "http://127.0.0.1:8081/hub/api/users?limit=20&offset=20"
    }
  }
}
where the list results (same as pre-2.0) will be in items,
and pagination info will be in _pagination.
The next field will include the offset, limit, and url for requesting the next page.
next will be null if there is no next page.
Pagination is governed by two configuration options:
JupyterHub.api_page_default_limit- the page size, iflimitis unspecified in the request and the new pagination API is requested (default: 50)JupyterHub.api_page_max_limit- the maximum page size a request can ask for (default: 200)
Pagination is enabled on the GET /users, GET /groups, and GET /proxy REST endpoints.
Enabling users to spawn multiple named-servers via the API#
Support for multiple servers per user was introduced in JupyterHub version 0.8. Prior to that, each user could only launch a single default server via the API like this:
curl -X POST -H "Authorization: token <token>" "http://127.0.0.1:8081/hub/api/users/<user>/server"
With the named-server functionality, it’s now possible to launch more than one specifically named servers against a given user. This could be used, for instance, to launch each server based on a different image.
First you must enable named-servers by including the following setting in the jupyterhub_config.py file.
c.JupyterHub.allow_named_servers = True
If you are using the zero-to-jupyterhub-k8s set-up to run JupyterHub,
then instead of editing the jupyterhub_config.py file directly, you could pass
the following as part of the config.yaml file, as per the tutorial:
hub:
  extraConfig: |
    c.JupyterHub.allow_named_servers = True
With that setting in place, a new named-server is activated like this:
POST /api/users/:username/servers/:servername
e.g.
curl -X POST -H "Authorization: token <token>" "http://127.0.0.1:8081/hub/api/users/<user>/servers/<serverA>"
curl -X POST -H "Authorization: token <token>" "http://127.0.0.1:8081/hub/api/users/<user>/servers/<serverB>"
The same servers can be stopped by substituting DELETE for POST above.
Some caveats for using named-servers#
For named-servers via the API to work, the spawner used to spawn these servers will need to be able to handle the case of multiple servers per user and ensure uniqueness of names, particularly if servers are spawned via docker containers or kubernetes pods.
Learn more about the API#
You can see the full JupyterHub REST API for more details.