Technical Reference
Using JupyterHub's REST API

Installation Guide
Getting Started
Technical Reference
The JupyterHub API
Tutorials
Troubleshooting
A Gallery of JupyterHub Deployments
Using JupyterHub's REST API
This section will give you information on:
- what you can do with the API
- create an API token
- add API tokens to the config files
- make an API request programmatically using the requests library
- learn more about JupyterHub's API
What you can do with the API
Using the JupyterHub REST API, you can perform actions on the Hub, such as:
- checking which users are active
- adding or removing users
- stopping or starting single user notebook servers
- authenticating services
A REST API provides a standard way for users to get and send information to the Hub.
Create an API token
To send requests using JupyterHub API, you must pass an API token with the request.
As of version 0.6.0, the preferred way of generating an API token is:
openssl rand -hex 32
This openssl command generates a potential token that can then be
added to JupyterHub using .api_tokens configuration setting in
jupyterhub_config.py.
Alternatively, use the jupyterhub token command to generate a token
for a specific hub user by passing the 'username':
jupyterhub token <username>
This command generates a random string to use as a token and registers it for the given user with the Hub's database.
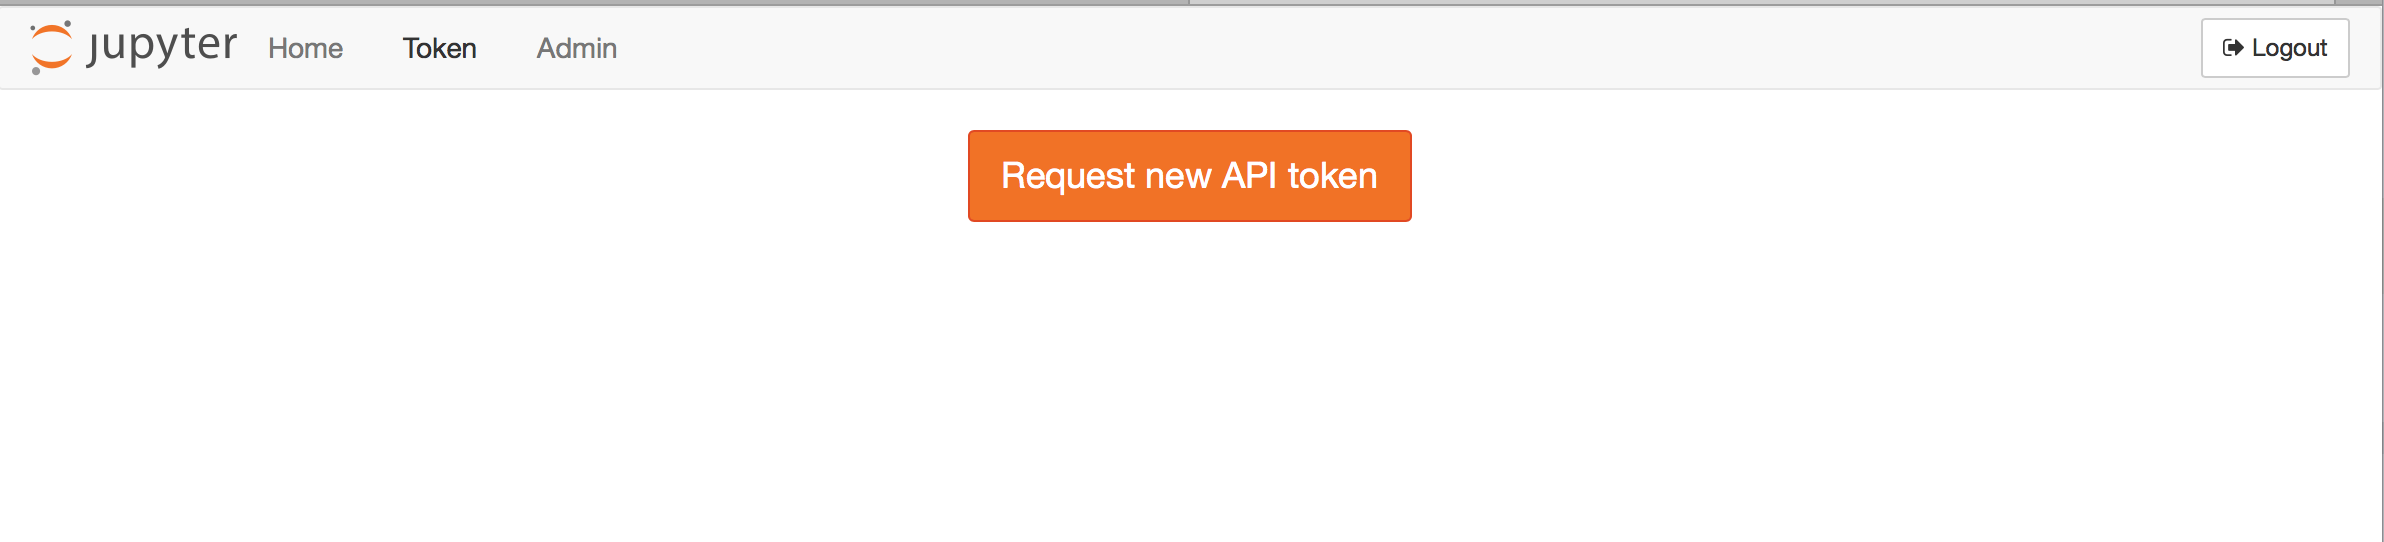
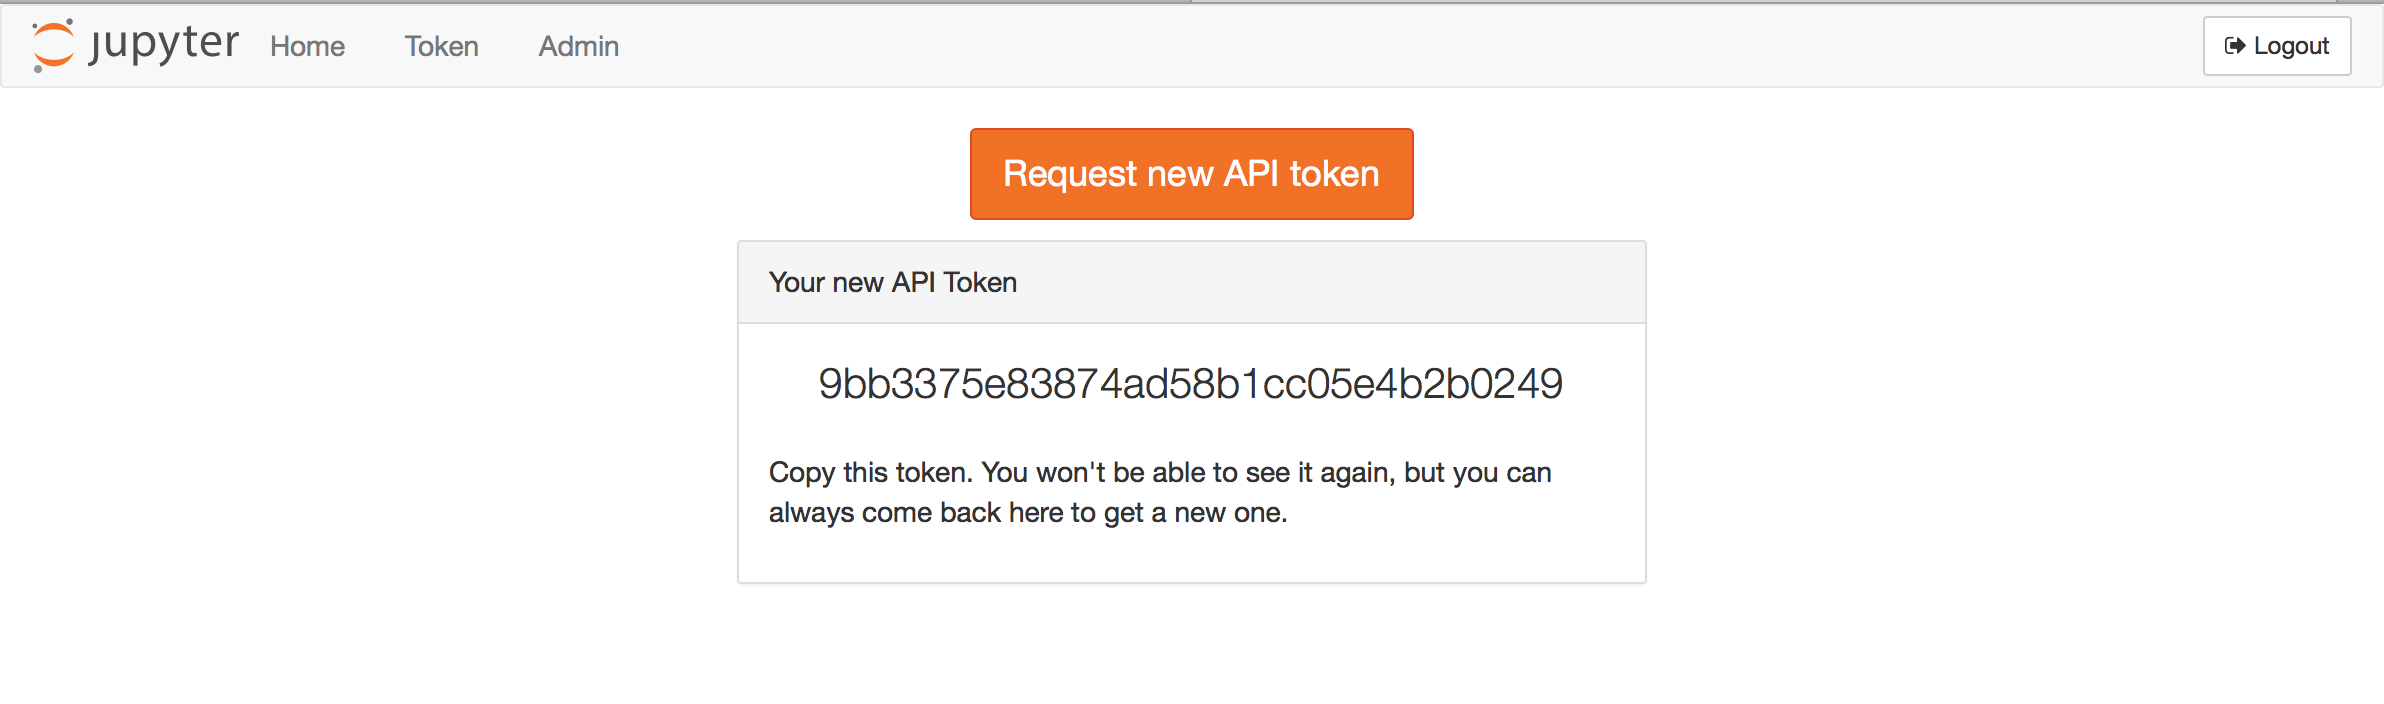
In version 0.8.0, a TOKEN request page for generating an API token is available from the JupyterHub user interface:
Add API tokens to the config file
You may also add a dictionary of API tokens and usernames to the hub's
configuration file, jupyterhub_config.py (note that
the key is the 'secret-token' while the value is the 'username'):
c.JupyterHub.api_tokens = {
    'secret-token': 'username',
}
Make an API request
To authenticate your requests, pass the API token in the request's Authorization header.
Use requests
Using the popular Python requests library, here's example code to make an API request for the users of a JupyterHub deployment. An API GET request is made, and the request sends an API token for authorization. The response contains information about the users:
import requests

api_url = 'http://127.0.0.1:8081/hub/api'

r = requests.get(api_url + '/users',
    headers={
             'Authorization': 'token %s' % token,
            }
    )

r.raise_for_status()
users = r.json()
This example provides a slightly more complicated request, yet the process is very similar:
import requests

api_url = 'http://127.0.0.1:8081/hub/api'

data = {'name': 'mygroup', 'users': ['user1', 'user2']}

r = requests.post(api_url + '/groups/formgrade-data301/users',
    headers={
             'Authorization': 'token %s' % token,
            },
    json=data
)
r.raise_for_status()
r.json()
The same API token can also authorize access to the Jupyter Notebook REST API provided by notebook servers managed by JupyterHub if one of the following is true:
- The token is for the same user as the owner of the notebook
- The token is tied to an admin user or service and
c.JupyterHub.admin_accessis set toTrue
Enabling users to spawn multiple named-servers via the API
With JupyterHub version 0.8, support for multiple servers per user has landed. Prior to that, each user could only launch a single default server via the API like this:
curl -X POST -H "Authorization: token <token>" "http://127.0.0.1:8081/hub/api/users/<user>/server"
With the named-server functionality, it's now possible to launch more than one specifically named servers against a given user. This could be used, for instance, to launch each server based on a different image.
First you must enable named-servers by including the following setting in the jupyterhub_config.py file.
c.JupyterHub.allow_named_servers = True
If using the zero-to-jupyterhub-k8s set-up to run JupyterHub,
then instead of editing the jupyterhub_config.py file directly, you could pass
the following as part of the config.yaml file, as per the tutorial:
hub:
  extraConfig: |
    c.JupyterHub.allow_named_servers = True
With that setting in place, a new named-server is activated like this:
curl -X POST -H "Authorization: token <token>" "http://127.0.0.1:8081/hub/api/users/<user>/servers/<serverA>"
curl -X POST -H "Authorization: token <token>" "http://127.0.0.1:8081/hub/api/users/<user>/servers/<serverB>"
The same servers can be stopped by substituting DELETE for POST above.
Some caveats for using named-servers
The named-server capabilities are not fully implemented for JupyterHub as yet. While it's possible to start/stop a server via the API, the UI on the JupyterHub control-panel has not been implemented, and so it may not be obvious to those viewing the panel that a named-server may be running for a given user.
For named-servers via the API to work, the spawner used to spawn these servers will need to be able to handle the case of multiple servers per user and ensure uniqueness of names, particularly if servers are spawned via docker containers or kubernetes pods.
Learn more about the API
You can see the full JupyterHub REST API for details. This REST API Spec can be viewed in a more interactive style on swagger's petstore. Both resources contain the same information and differ only in its display. Note: The Swagger specification is being renamed the OpenAPI Initiative.